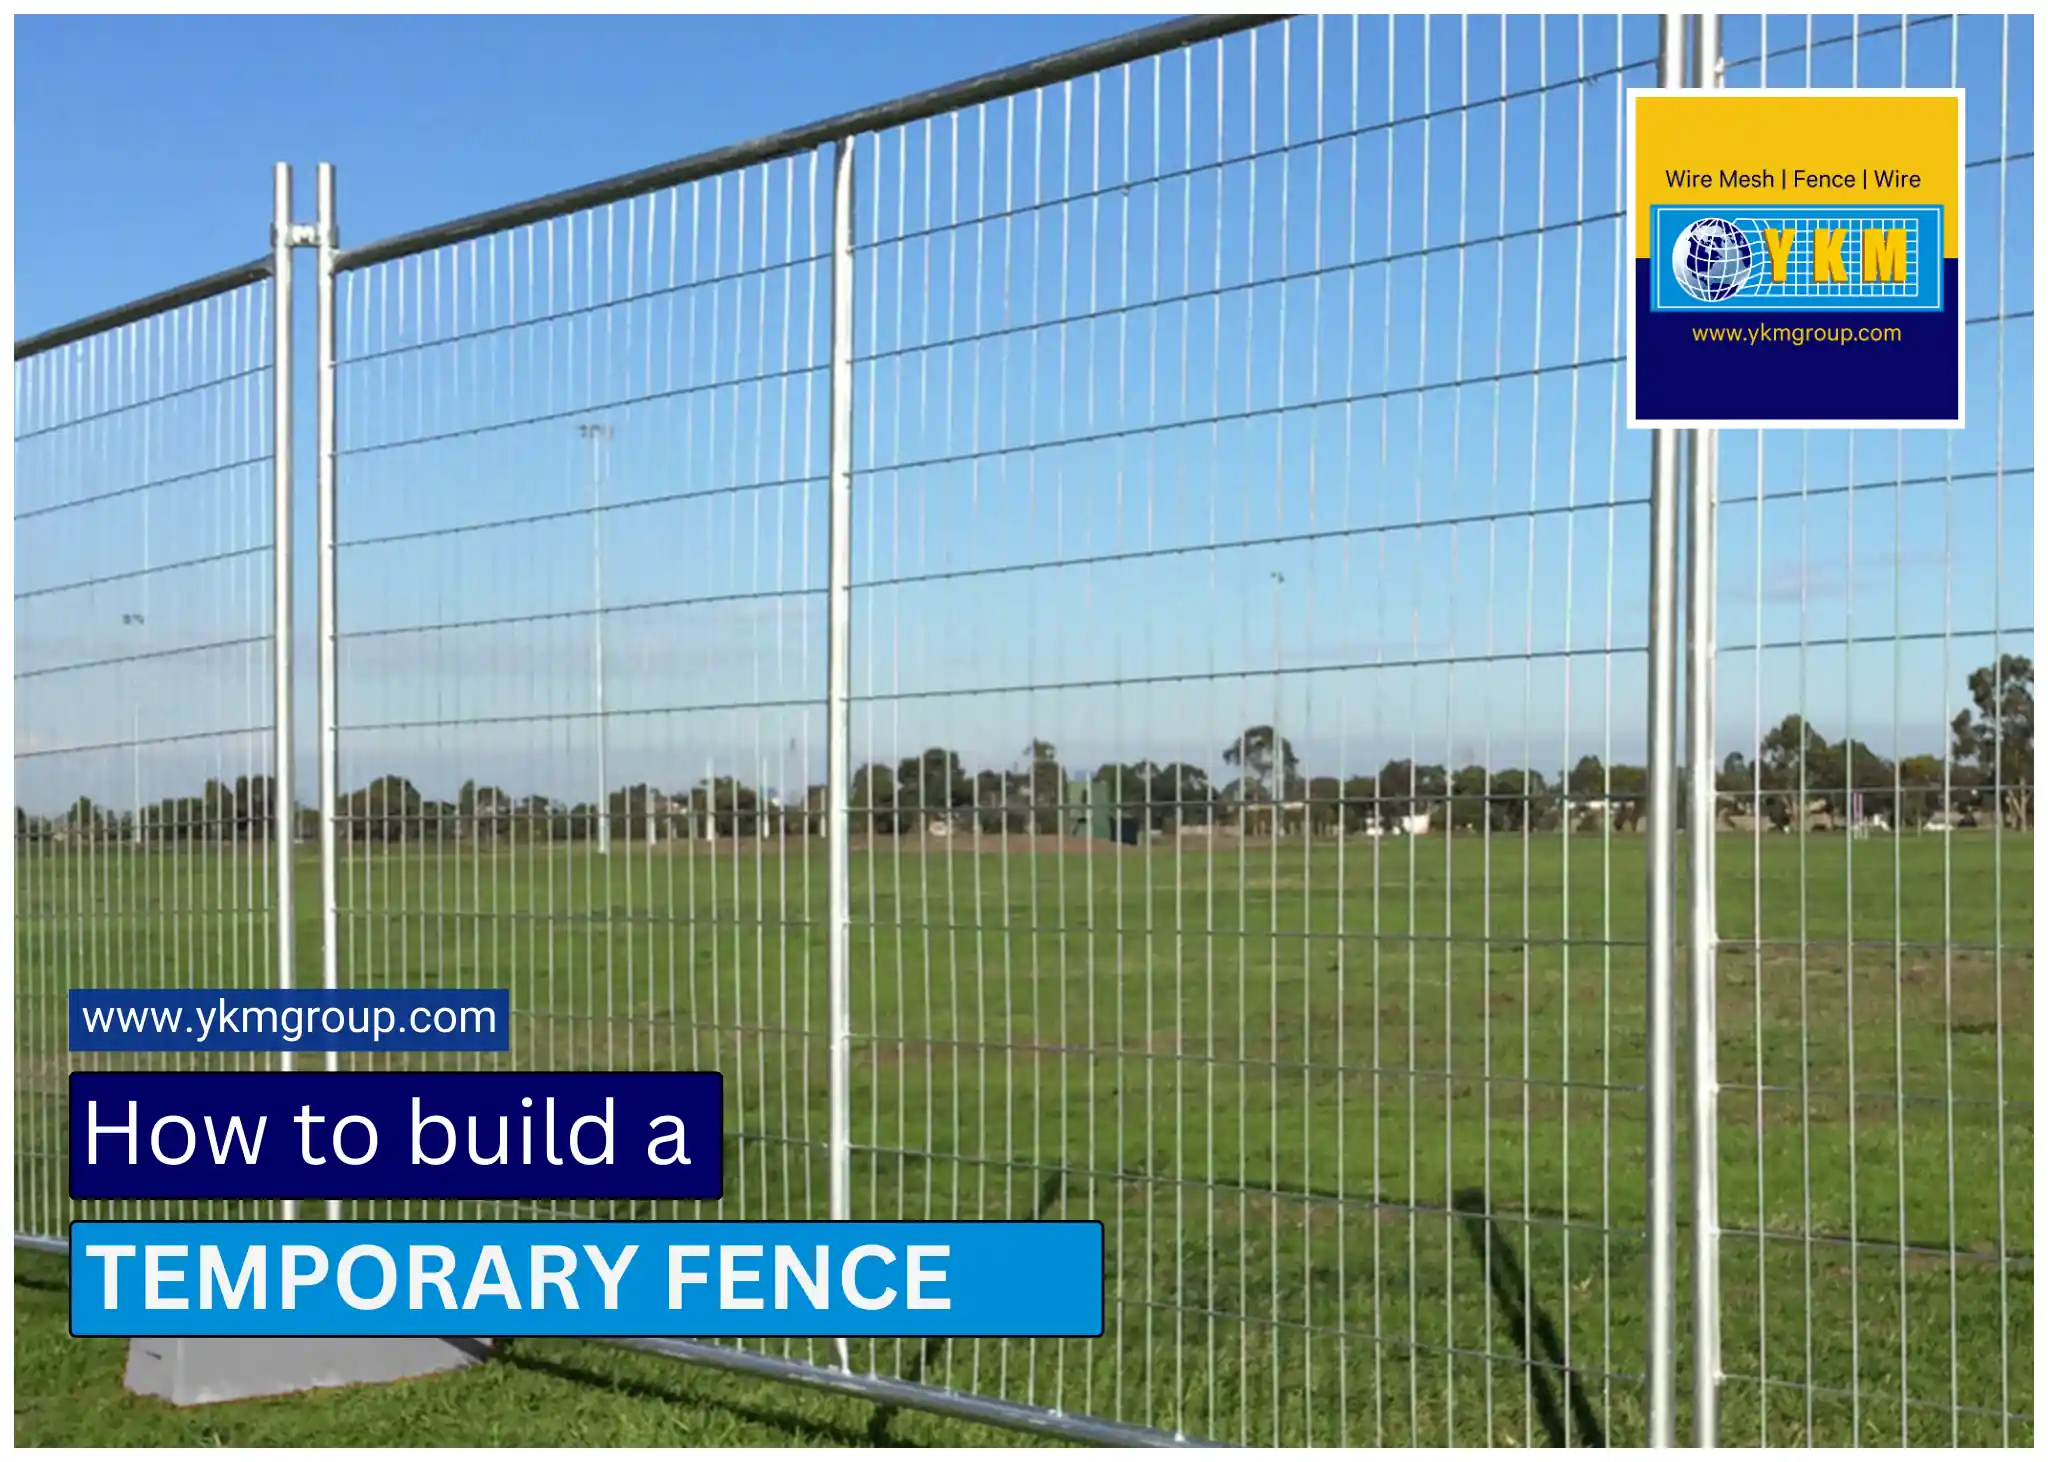
Temporary fences serve various purposes, from securing construction sites to organizing events. They offer flexibility and convenience, allowing you to control access and enhance safety temporarily. In this guide, we’ll explore the steps on how to build a temporary fence efficiently.
Understanding Temporary Fences
Temporary fences are versatile barriers designed for short-term use. They are commonly used in construction sites, outdoor events, crowd control, and security applications. These fences provide a quick solution for creating boundaries and controlling access to specific areas.
Materials & Tools Needed to Build a Temporary Fence
To build a temporary fence, you’ll need the following materials:
- Fence Panels
- Posts
- Braces
- Fasteners
- Hammer
- Screwdriver
- Level
- Pliers
- Tape measure
How to build a temporary fence
Step 1: Planning and Preparation
Before diving into construction, it’s crucial to plan out your temporary fence layout and gather all the necessary materials. Start by measuring the area where you want to install the fence and determine the height and length requirements. Next, make a list of materials such as Fence Panels, Posts, Braces, Fasteners. Ensure that you have all the tools required for the job, including a hammer, level, and measuring tape etc.
Step 2: Installing Fence Posts
Once you have all your materials assembled, it’s time to begin the installation process. Begin by placing the fence posts at regular intervals along the perimeter of your designated area. Use a hammer to drive the posts into the ground securely or you can alternatively use a “base” to hold the fence post. Make sure they are evenly spaced and level. For added stability, consider using ground stakes to anchor the posts firmly into the soil.
Step 3: Attaching Fencing Panels
With the posts in place, it’s time to attach the fencing panels. The commonly used fence panels include chain link fence, welded mesh fence panels etc.
Start attaching the Start at one end of the fence line and secure the panels to the posts using zip ties or wire. Make sure the panels are aligned properly and tightly fastened to prevent any gaps or sagging.
As you work your way along the fence line, continue to attach panels until the entire perimeter is enclosed.
Step 4: Reinforcing Stability
To ensure that your temporary fence remains sturdy and secure, it’s essential to reinforce its stability.
Consider adding additional support by placing stakes or weights along the base of the fence, especially in areas prone to high winds or heavy foot traffic.
You can also use braces or crossbars between posts for added strength and durability.
Step 5: Inspecting and Finishing Touches
Once your temporary fence is fully assembled, take some time to inspect it for any weak spots or loose connections. Make any necessary adjustments or reinforcements to ensure that the fence is secure and stable.
Finally, add any finishing touches such as decorative elements or warning signs to enhance the appearance and functionality of your temporary fencing solution.
Conclusion
Building a temporary fence is a straightforward process that offers flexibility and convenience. By following these how to build a temporary fence steps, and using the right materials and tools. Still having doubts? Let us do the work for you, we are the top fencing installers and supplier in UAE, Middle East with over 40 years experience in the industry.